Have I mentioned that I love the variety of what I do -from catering to canapés to classes?
One of my latest ventures is Chocolate Cookery Classes at the famous Butler’s Chocolates.
So when they asked me to do a Halloween class I had to put my thinking hat on and Sammy the Spider was born …..
 Meet Sammy!
To make this cake and be the star of your Halloween Party just follow my instructions which I hope don’t ramble too much…..
The body of the cake is made using one of the most versatile chocolate cake recipes you’ll ever need. I was introduced to it about 10 years ago by Tess and Nicola when I worked in Wicklow and since then I’ve used it for cakes, muffins, mini cupcakes, sweet canapés …..and now spiders.
What you need :
- 8oz/200g Self raising Flour
- 9oz/225g Soft Brown Sugar
- 2o/50g Cocoa Powder
- 1/4 pt/125ml Milk (the full fat variety please!)
- 1/4 pt/125ml Sunflower Oil
- 3 eggs , separated
What you do:
- Preheat your oven to at 180C /170 C Fan/Gas 4
- Mix the dry ingredients in a bowl.
- Mix the milk and oil in a jug and whisk in the egg yolks.
- Whisk the egg whites until they’re thick and glossy (as if you were making meringues).
- Add the wet ingredients to the dry, mix well and then fold in the egg whites – being careful not to knock out all the air.
- And that’s it ! Now pour mix into baking tins – I used two 11.5 cm and one 20 cm- you could make 2 large cakes or 4 small ones.
- Bake for 12-15 minutes, until firm to touch.
- Leave to cool in the tin for about 5 mins then turn out onto a wire rack and allow to cool completely.
Note: It’s not worth halving the recipe to make just one small cake so freeze the extra cakes for another day – or make a family of spiders!
Now comes the fun part – the decorating.
First you need some Chocolate Ganache:
To make this you simply heat 200ml cream until simmering then pour over approx 125g dark chocolate chips and stir until melted. If you think it’s not thick enough you can add more chocolate but do remember it will thicken as it cools.
Place on of the 11.5cm cakes on your serving plate (you can do it on a turntable but you have to be very careful when transferring it to its final plate!)
Cover the body of the cake with the ganache then get ready to add the legs. I used wafer rolls for the legs though I think chocolate fingers might work as well. 
You need 16 rolls – two for each leg to allow for the bend! Cover each roll in the chocolate ganache (Didn’t I warn you it could get messy!)
Stick 8 of them into the body of the cake to form the tops of the legs. Then carefully ‘glue’ on the bottom half of each leg (wafer) using more of the ganache. (I’ll repeat the picture so you can see what I mean – I hope!)
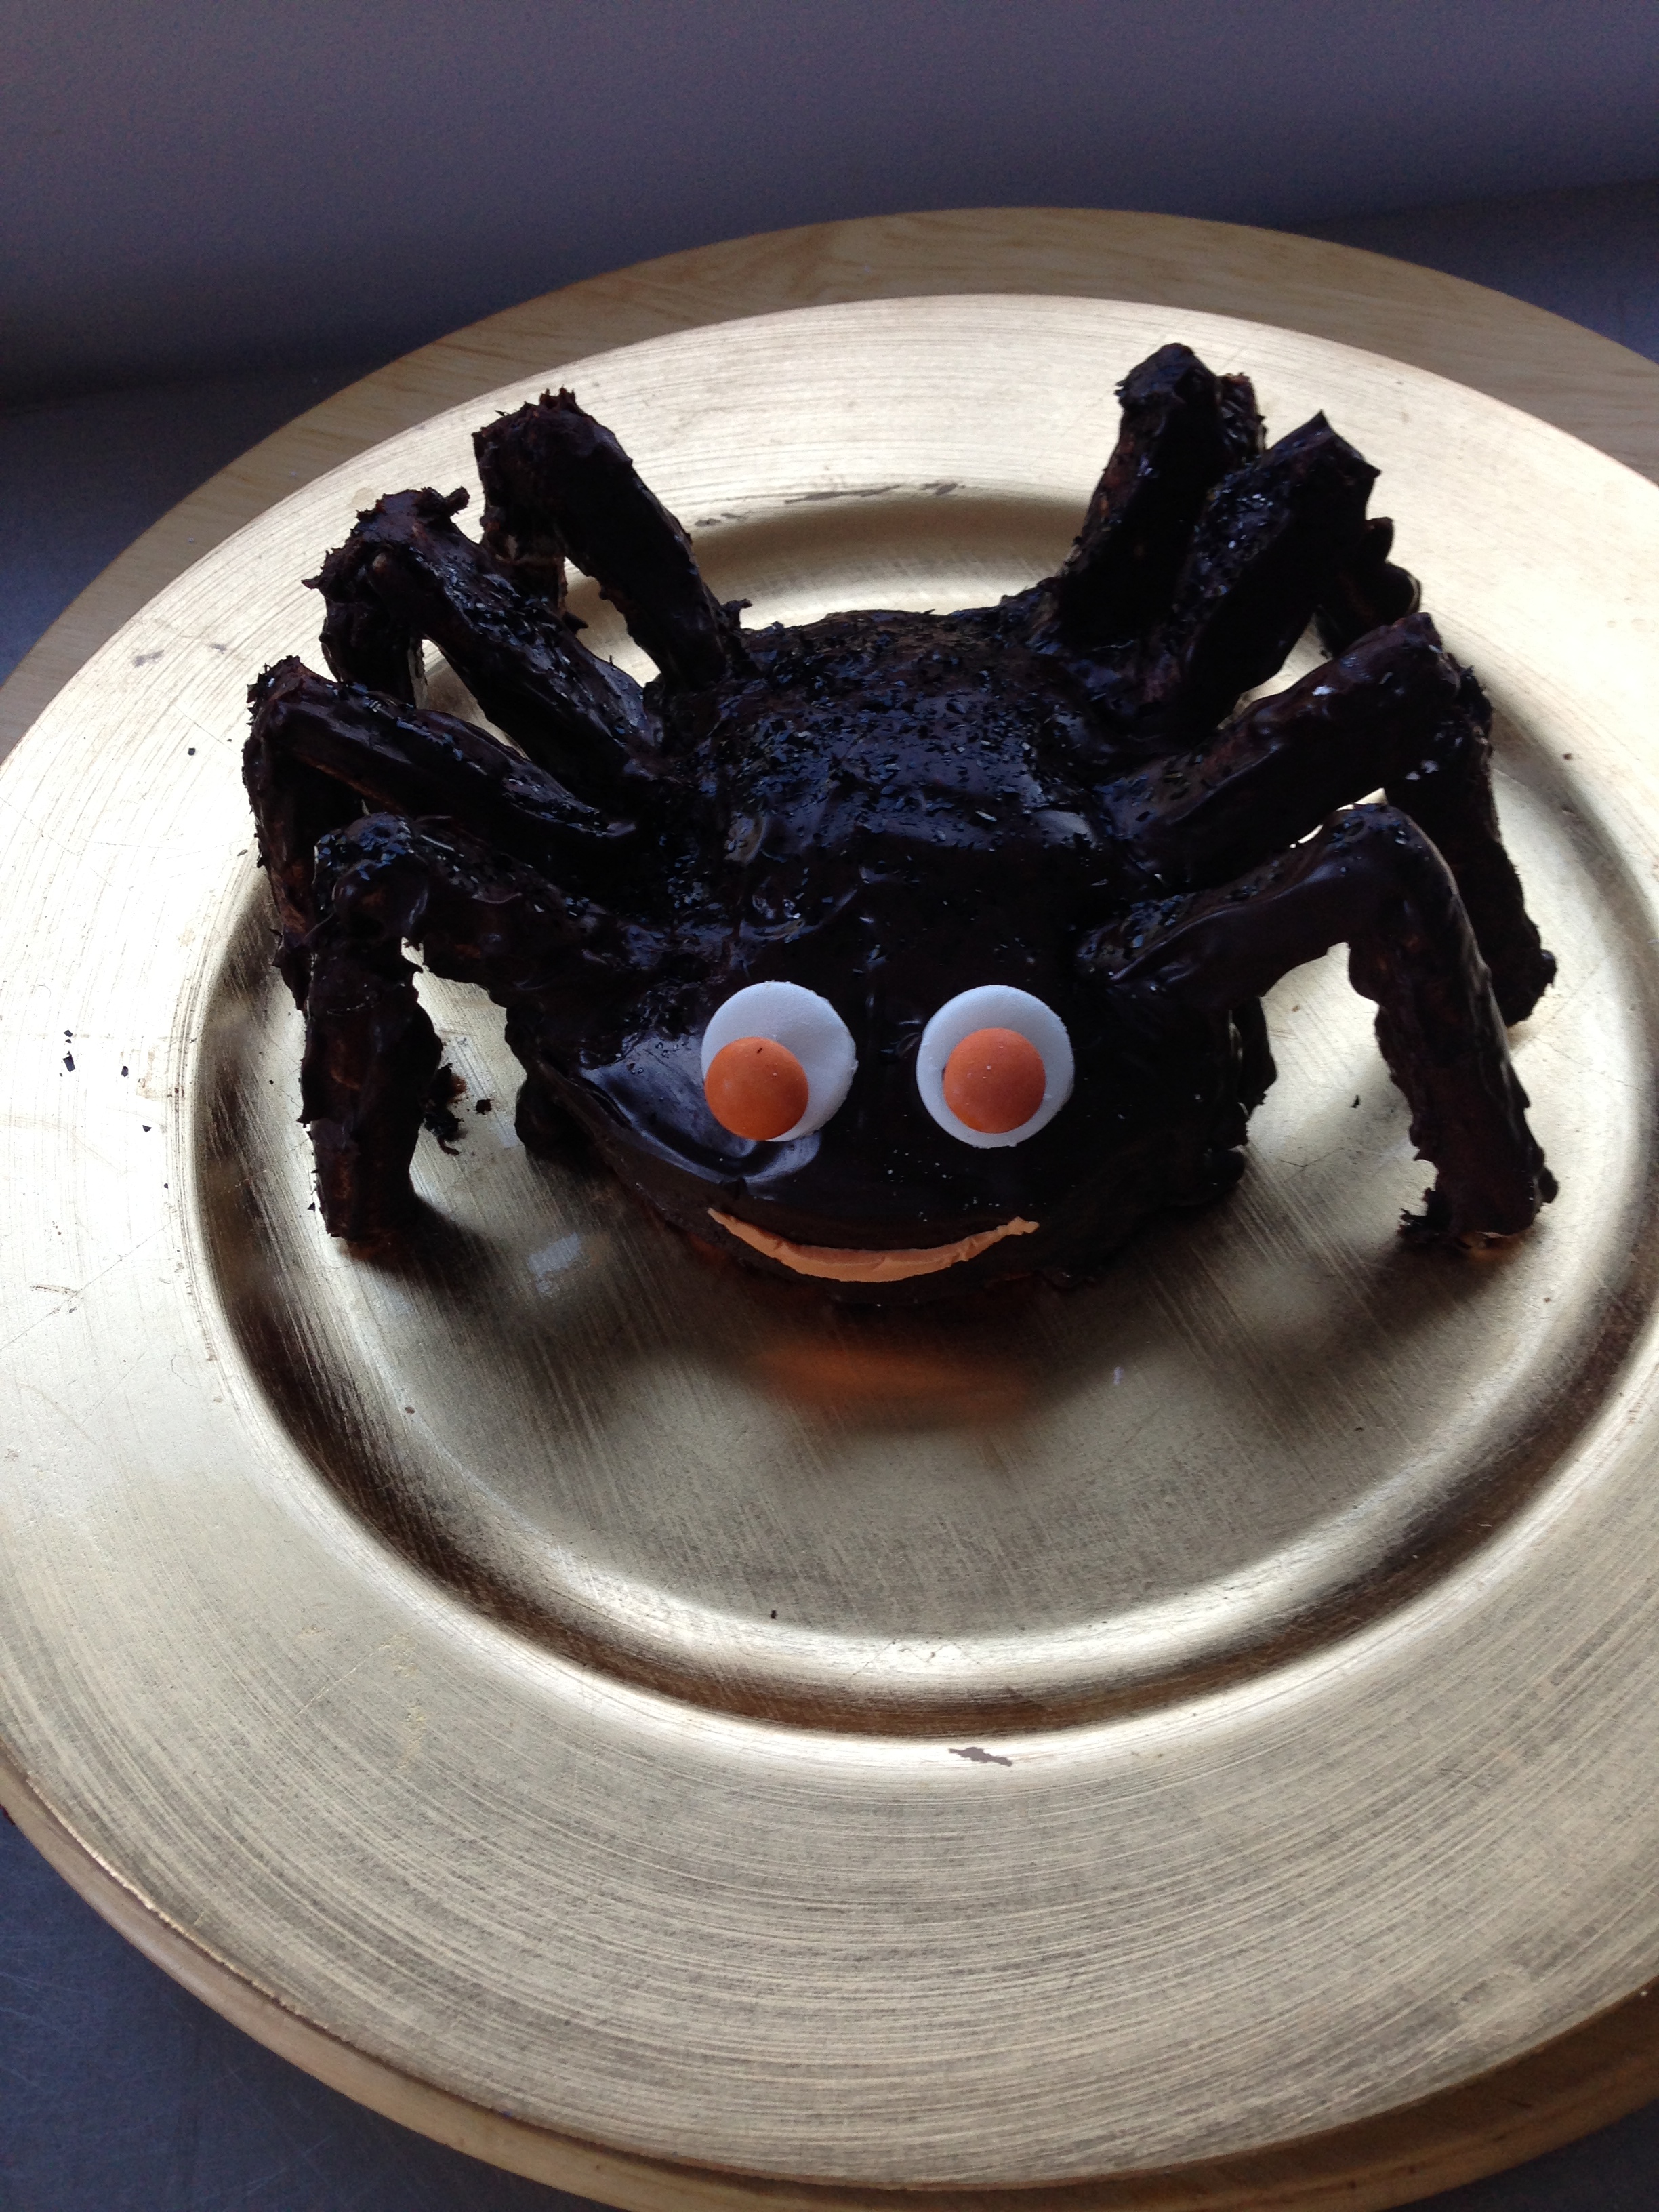
For the face you need some roll out icing – white for eyes, orange for mouth. Stamp out two white circles for the eyes, ‘glue’ onto the body and then attach an M&M’s to each circle with a little of the ganache.
To make the mouth cut out a smile from the orange icing and stick it on.
Et voila! Your Halloween spider cake is complete and totally worth the mess!
Happy Cooking & Happy Halloween!
PS the best compliment I received on this was from my soon to be 3-year-old nephew – he wants a spider as his birthday cake 🙂
![IMG_2671[1]](https://heypesto.ie/wp-content/uploads/2013/10/img_26711.jpg)
![IMG_2672[1]](https://heypesto.ie/wp-content/uploads/2013/10/img_26721.jpg)
![IMG_2673[1]](https://heypesto.ie/wp-content/uploads/2013/10/img_26731.jpg)
![IMG_2682[1]](https://heypesto.ie/wp-content/uploads/2013/10/img_26821.jpg)
![IMG_2686[1]](https://heypesto.ie/wp-content/uploads/2013/10/img_26861.jpg)
