Baking, Cookery Classes, Cooking, entertaining, radio, Recipes

Trick or Treat


We can’t do Trick or Treat as normal this year so let’s try and make Halloween at Home special . I know I promised on Midlands 103 this morning that I would post the recipes that we discussed so here’s a rather quick post to give you some inspiration

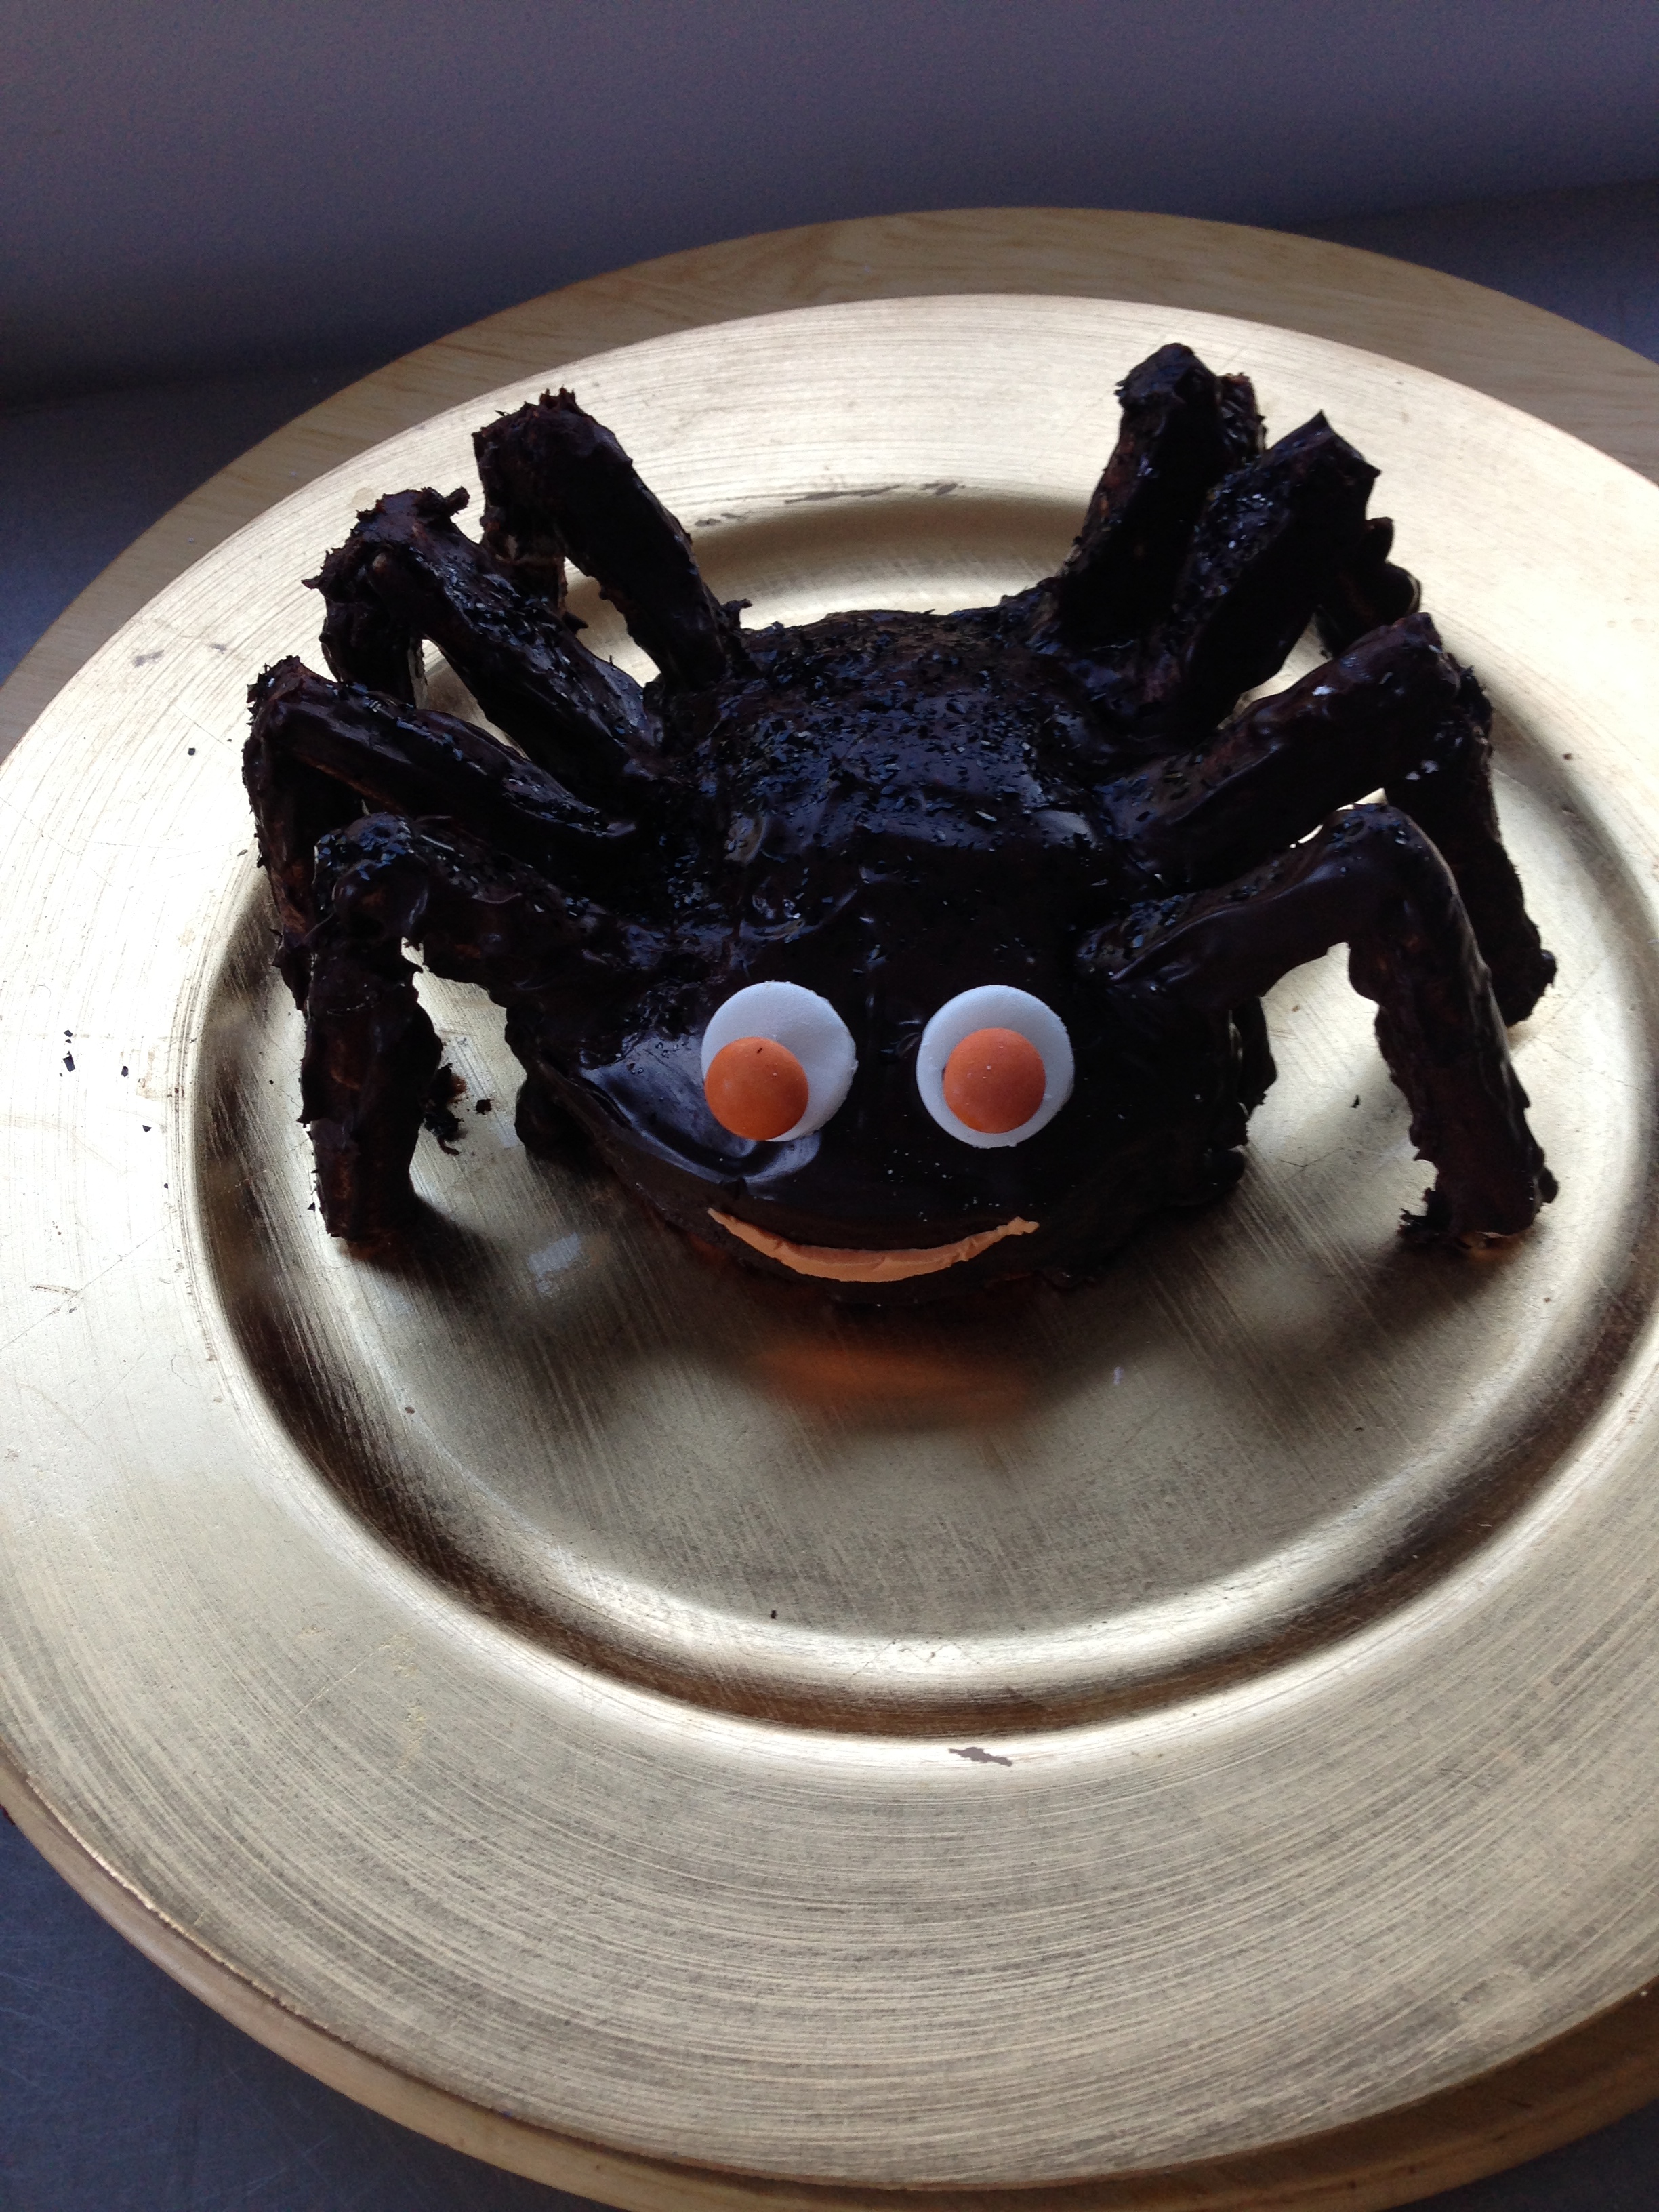
You’ll also find recipes for a Graveyard Cake and Sammy the Spider on my blog.

halloween treats selection

Halloween Toffee Apples

Makes   4

What you need:

  • 4 apples
  • 4 lollipop sticks or skewers
  • 200g caster sugar
  • 1 tsp lemon juice
  • 2 tbsp golden syrup
  • Black food colouring

What to do:

  • Put the sticks into the stalk end of the apples. Put the apples on a baking tray or plate lined with baking parchment
  • Put the sugar into a large saucepan with the lemon juice and 50 ml water. Bring to a simmer and let the sugar dissolve – don’t stir it!
  • Carefully add the golden syrup and let the mixture bubble until it looks like toffee. To test if it’s done take out a little on a spoon and drop it into a cup of cold water – it should harden straight away. If it doesn’t continue to boil for another few minutes and test it again.
  • Add a few drops of food colouring and take the pan off the heat.
  • Dip the apple into the toffee, you may have to tip the pan to cover all the skin. (BE CAREFUL) Let any excess toffee drip off and put on the baking parchment to harden
  • Repeat with the other apples.

Spooky Forest

What you need:

  • For the mousse:
    • 150g marshmallows
    • 50g butter
    • 250g dark chocolate
    • 60ml boiled water
    • 250 ml cream
    • 1 tsp. vanilla extract
    • Good splash Cointreau (adults only!)
    • Zest of 1 orange
  • Trees:
    • White chocolate, melted
    • Googly eyes
  • Soil:
    • Blitzed Oreo cookies

What to do:

  • To make the mousse:
    • Put marshmallows, butter and chocolate and water in a bowl over a pot of simmering water. Stir occasionally until melted. Add in orange zest.
    • Whip the cream and add vanilla extract and Cointreau
    • Take chocolate mix off heat. Fold cream into chocolate until smooth.
    • Pour into glasses
    • Leave to set in fridge
  • For the trees:
    • Trace some scary trees onto baking parchment (you’ll find lots of templates online). Then melt some white chocolate and pipe/brush onto the shape
    • Attach eyes and leave to set
  • To Assemble
    • Top the mousse with the crushed cookies
    • Then carefully peel the trees of the parchment and stick into the mousse
    • Decorate with mini pumpkins etc.

Marshmallow Zombies

What you need:

  • Marshmallows
  • White chocolate, melted
  • Lollipop sticks
  • Icing pens
  • Googly eyes

What you do:

  • Put each marshmallow on a lollipop stick and dip into white chocolate
  • Allow chocolate to set – standing in a glass is the easiest
  • Then decorate the marshmallow with eyes and drawing on a mouth

Happy Cooking & A Very Spooky Halloween!

Yvonne xx

If you’d like to attend one of my cookery classes online then please click here  for details. 

Advertisement
Baking, Cookery Classes, desserts, Food, Recipes

Sammy the Spider

Have I mentioned that I love the variety of what I do -from catering to canapés to classes?

One of my latest ventures is Chocolate Cookery Classes at the famous Butler’s Chocolates.

So when they asked me to do a Halloween class I had to put my thinking hat on and Sammy the Spider was born …..

Meet Sammy! Meet Sammy!

To make this cake and be the star of your Halloween Party just follow my instructions which I hope don’t ramble too much…..

The body of the cake is made using one of the most versatile chocolate cake recipes you’ll ever need. I was introduced to it about 10 years ago by Tess and Nicola when I worked in Wicklow and since then I’ve used it for cakes, muffins, mini cupcakes, sweet canapés …..and now spiders.

What you need :

  • 8oz/200g Self raising Flour
  • 9oz/225g Soft Brown Sugar
  • 2o/50g Cocoa Powder
  • 1/4 pt/125ml  Milk (the full fat variety please!)
  • 1/4 pt/125ml  Sunflower Oil
  • 3 eggs , separated

What you do:

  • Preheat your oven to at 180C /170 C  Fan/Gas 4
  • Mix the dry ingredients in a bowl.
  • Mix the milk and oil in a jug and whisk in the egg yolks.
  • Whisk the egg whites until they’re thick and glossy (as if you were making meringues).
  • Add the wet ingredients to the dry, mix well and then fold in the egg whites – being careful not to knock out all the air.
  • And that’s it ! Now pour mix into baking tins – I used two 11.5 cm  and one 20 cm- you could make 2 large cakes or 4 small ones.
  • Bake for 12-15 minutes, until firm to touch.
  • Leave to cool in the tin for about 5 mins then turn out onto a wire rack  and allow to cool completely.

Note:  It’s not worth halving the recipe to make just one small cake so freeze the extra cakes for     another day – or make a family of spiders!

Now comes the fun part – the decorating.

First you need some Chocolate Ganache:

To make this you simply heat 200ml  cream until simmering then pour over approx 125g dark chocolate chips and stir until melted. If you think it’s not thick enough you can add more chocolate but do remember it will thicken as it cools.

Place on of the 11.5cm cakes on your serving plate (you can do it on a turntable but you have to be very careful when transferring it to its final plate!)

Cover the body of the cake with the ganache then get ready to add the legs. I used wafer rolls for the legs though I think chocolate fingers might work as well. wafer rolls

You need 16 rolls – two for each leg to allow for the bend! Cover each roll in the chocolate ganache (Didn’t I warn you it could get messy!)

Stick 8 of them into the body of the cake to form the tops of the legs. Then carefully ‘glue’ on the bottom half of each leg (wafer) using more of the ganache. (I’ll repeat the picture so you can see what I mean – I hope!)

halloween 020

For the face you need some roll out icing – white for eyes, orange for mouth. Stamp out two white circles for the eyes, ‘glue’ onto the body and then attach an M&M’s to each circle with a little of the ganache.

To make the mouth cut out a smile from the orange icing and stick it on.

Et voila! Your Halloween spider cake is complete  and totally worth the mess!

Happy Cooking & Happy Halloween!

PS the best compliment I received on this was from my soon to be 3-year-old nephew – he wants a spider as his birthday cake 🙂

Cooking, Recipes

Ghoulish Bakes

I know I said this blog was about cook-books but hey it’s mine and I can change the rules, right?

Those of you following me on facebook will know that I have been trying to perfect my ‘Halloween Graveyard Cake’ before next weekend and some of you have requested the recipe so here goes…………

I found the idea for the cake in an old edition of BBC Good Food Magazine – the sponge is very easy and I decorated it with butter icing rather than chocolate.

If you’re doing the headstones – make sure you allow the chocolate to set fully before adding the writing (trust me I know what I’m talking about!!)

First Attempt


Take 2

Graveyard Cake


Oven:

180C/Gas 4

 What you need:

  • 375g soft brown sugar
  • 200g self-raising flour
  • 85g cocoa powder
  • 200ml milk
  • 175 ml sunflower oil
  • 4 eggs
  • Butter Icing:
    • 225g/ 9oz icing sugar
    • 175g/6oz  butter
    • 50g /2oz cocoa
    • Splash of milk/rum
  • ‘Headstones’
    • Rich tea finger biscuits
    • 50ml/2 fl oz. cream
    • 50g /2 oz. dark chocolate, finely chopped

What you do:

  • Mix the dry ingredients – the sugar, flour and cocoa in a large bowl (make sure to break up any lumps in the sugar!)
  • In a measuring jug mix together the milk and oil and lightly whisk in the eggs, then add to the dry ingredients and mix to a smooth batter.
  • Pour cake mix into a lined cake tin (20*20*5 cm).
  • Bake in preheated oven for 40 mins until firm to touch.
  • Allow to cool in tin for 10 mins before turning out.
  • To make the butter cream – whizz icing sugar, butter and cocoa inn the food processor and add a splash of milk to ‘loosen’. (If you’re making it for an adult party add rum or brandy instead of the milk!)
  • For the ‘headstones’, pour the cream in to a small saucepan and bring to just ‘below the boil’. Pour over the chocolate and stir until the chocolate melts. Use a pastry brush to paint the chocolate onto the rich tea biscuits and leave to cool.
  • Decorate the cake with butter icing, ‘headstones’ and lots of imagination!
My next challenge is to try the meringue ghosts to attach to the headstones!
I hope my nieces and nephew like it next weekend – It will be interesting to see how they choose to decorate the cake!
Happy Halloween!
PS for anyone who worked in Louise’s this is a simpler method of the famous ‘oil cake’ – you don’t have to separate the eggs!
 
Update : Take 3
 
green graveyard cake