Blog

Catering, Christmas, Cookery Classes, Cooking, Food, Healthy Eating, Recipes, Vegetarian

Happy New Year and all that …..

Happy New Year! I’m full of good intentions this morning – well who isn’t? 😉

2013 was exciting, if a tad stressful – the best bit being moving house and installing not one but two kitchens – one for me and one for Hey Pesto!
Now I have no excuses so  it’s time to start making plans for the year ahead……..

I want to :

  1. concentrate on the ‘cookery school side’ of the business – starting with my lighter cooking course on 14th January. I’ve been blown away by the feedback from my classes so far and I can’t believe how much I love doing them.
  2. continue to grow my catering business. I can’t believe it’s 9 years since I started Hey Pesto!
  3. blog more – I know, I know, I said that last year but there were far too many distractions. I also want to finally get round to creating a website (Stop laughing – yes you!)
  4. cook more for pleasure – now that I have a library for my cookery books I need to use them! (I shall also be looking for ‘guinea pigs’)
  5. enjoy lots of good food in the company of good friends and loved ones.

Another thing that I am very conscious of is the amount of food that is wasted. I tried to cut down last year but bad habits crept back in… So since Christmas I have trying to use up everything – I haven’t been food shopping since Christmas Eve and have managed to produce a number of tasty meals – ok I know we all overstock before the holidays but………

Of course I’m also going to be “super” healthy in 2014….well maybe I should start with healthier…….I even got a birthday present of gym membership (a less than subtle hint perhaps!)

So my first meal of 2014 is going to be a Vegetarian Crumble to use up all the sad vegetables still lurking in the pantry.

Vegetables

Spiced Vegetable Crumble

No Servings:         4 -6
Oven:                   180ºC/ gas 4     

What you need:

  • 1 – 2 tbsp rapeseed oil
  • 1 onion,  chopped
  • 1 clove garlic, finely chopped
  • 1 tsp cumin seeds
  • 1 tsp coriander seeds
  • 1 tsp ground tumeric
  • 1 tsp chilli powder
  • 1-2 cm fresh ginger, grated
  • 1/2 jar passata
  • Approx 750g mixed root vegetables, chopped
  • 500ml vegetable stock
  • 75g flour
  • 75g Kilbeggan Porridge Oats
  • 50g butter
  • 1/2 tsp cayenne pepper

What you do:

  • Heat the oil in a large pan and sauté the onion for approx 5 mins. Meanwhile dry fry the cumin nad coriander seeds and roughly grind in a pestle and mortar (Okay you can use a spice grinder but think of the exercise!)
  • Add the garlic, spices and ginger to the onions, cook for another minute then add in 2 tbsps of passasta. Cook for another minute then add in the rest of the passata.
  • Add in the chopped vegetables – I used carrots, celery(not a root veg I know but it was in the basket), sweet potato and parsnips. I also threw in the half packet of chestnuts that were languishing in the fridge since I made turkey & leek pie.
  • Transfer the mix to a casserole dish and pour in your vegetable stock.
  • Make the crumble topping by rubbing the butter into the flour and oats. Add in the cayenne pepper – both for colour and seasoning. You could use paprika if you prefer.
  • Top the vegetables with the crumble mix and bake for 30-40 mins. until the top is golden and bubbling.

P1010994-001

My dish is ready to go into the oven but as it has stopped raining I may even attempt to go for a walk!  Looking forward to dinner later with a nice glass of red wine  – well it is still Christmas ….

Happy Cooking and Happy New Year!

PS What are you planning for 2014?!

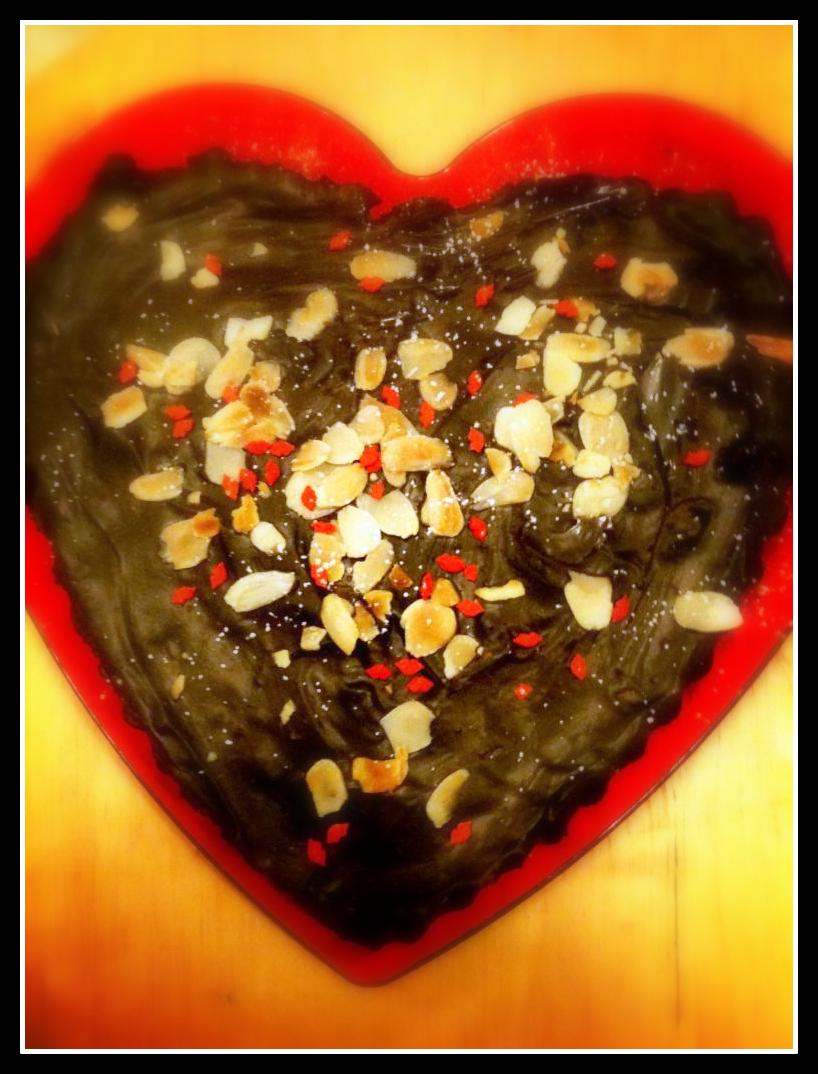
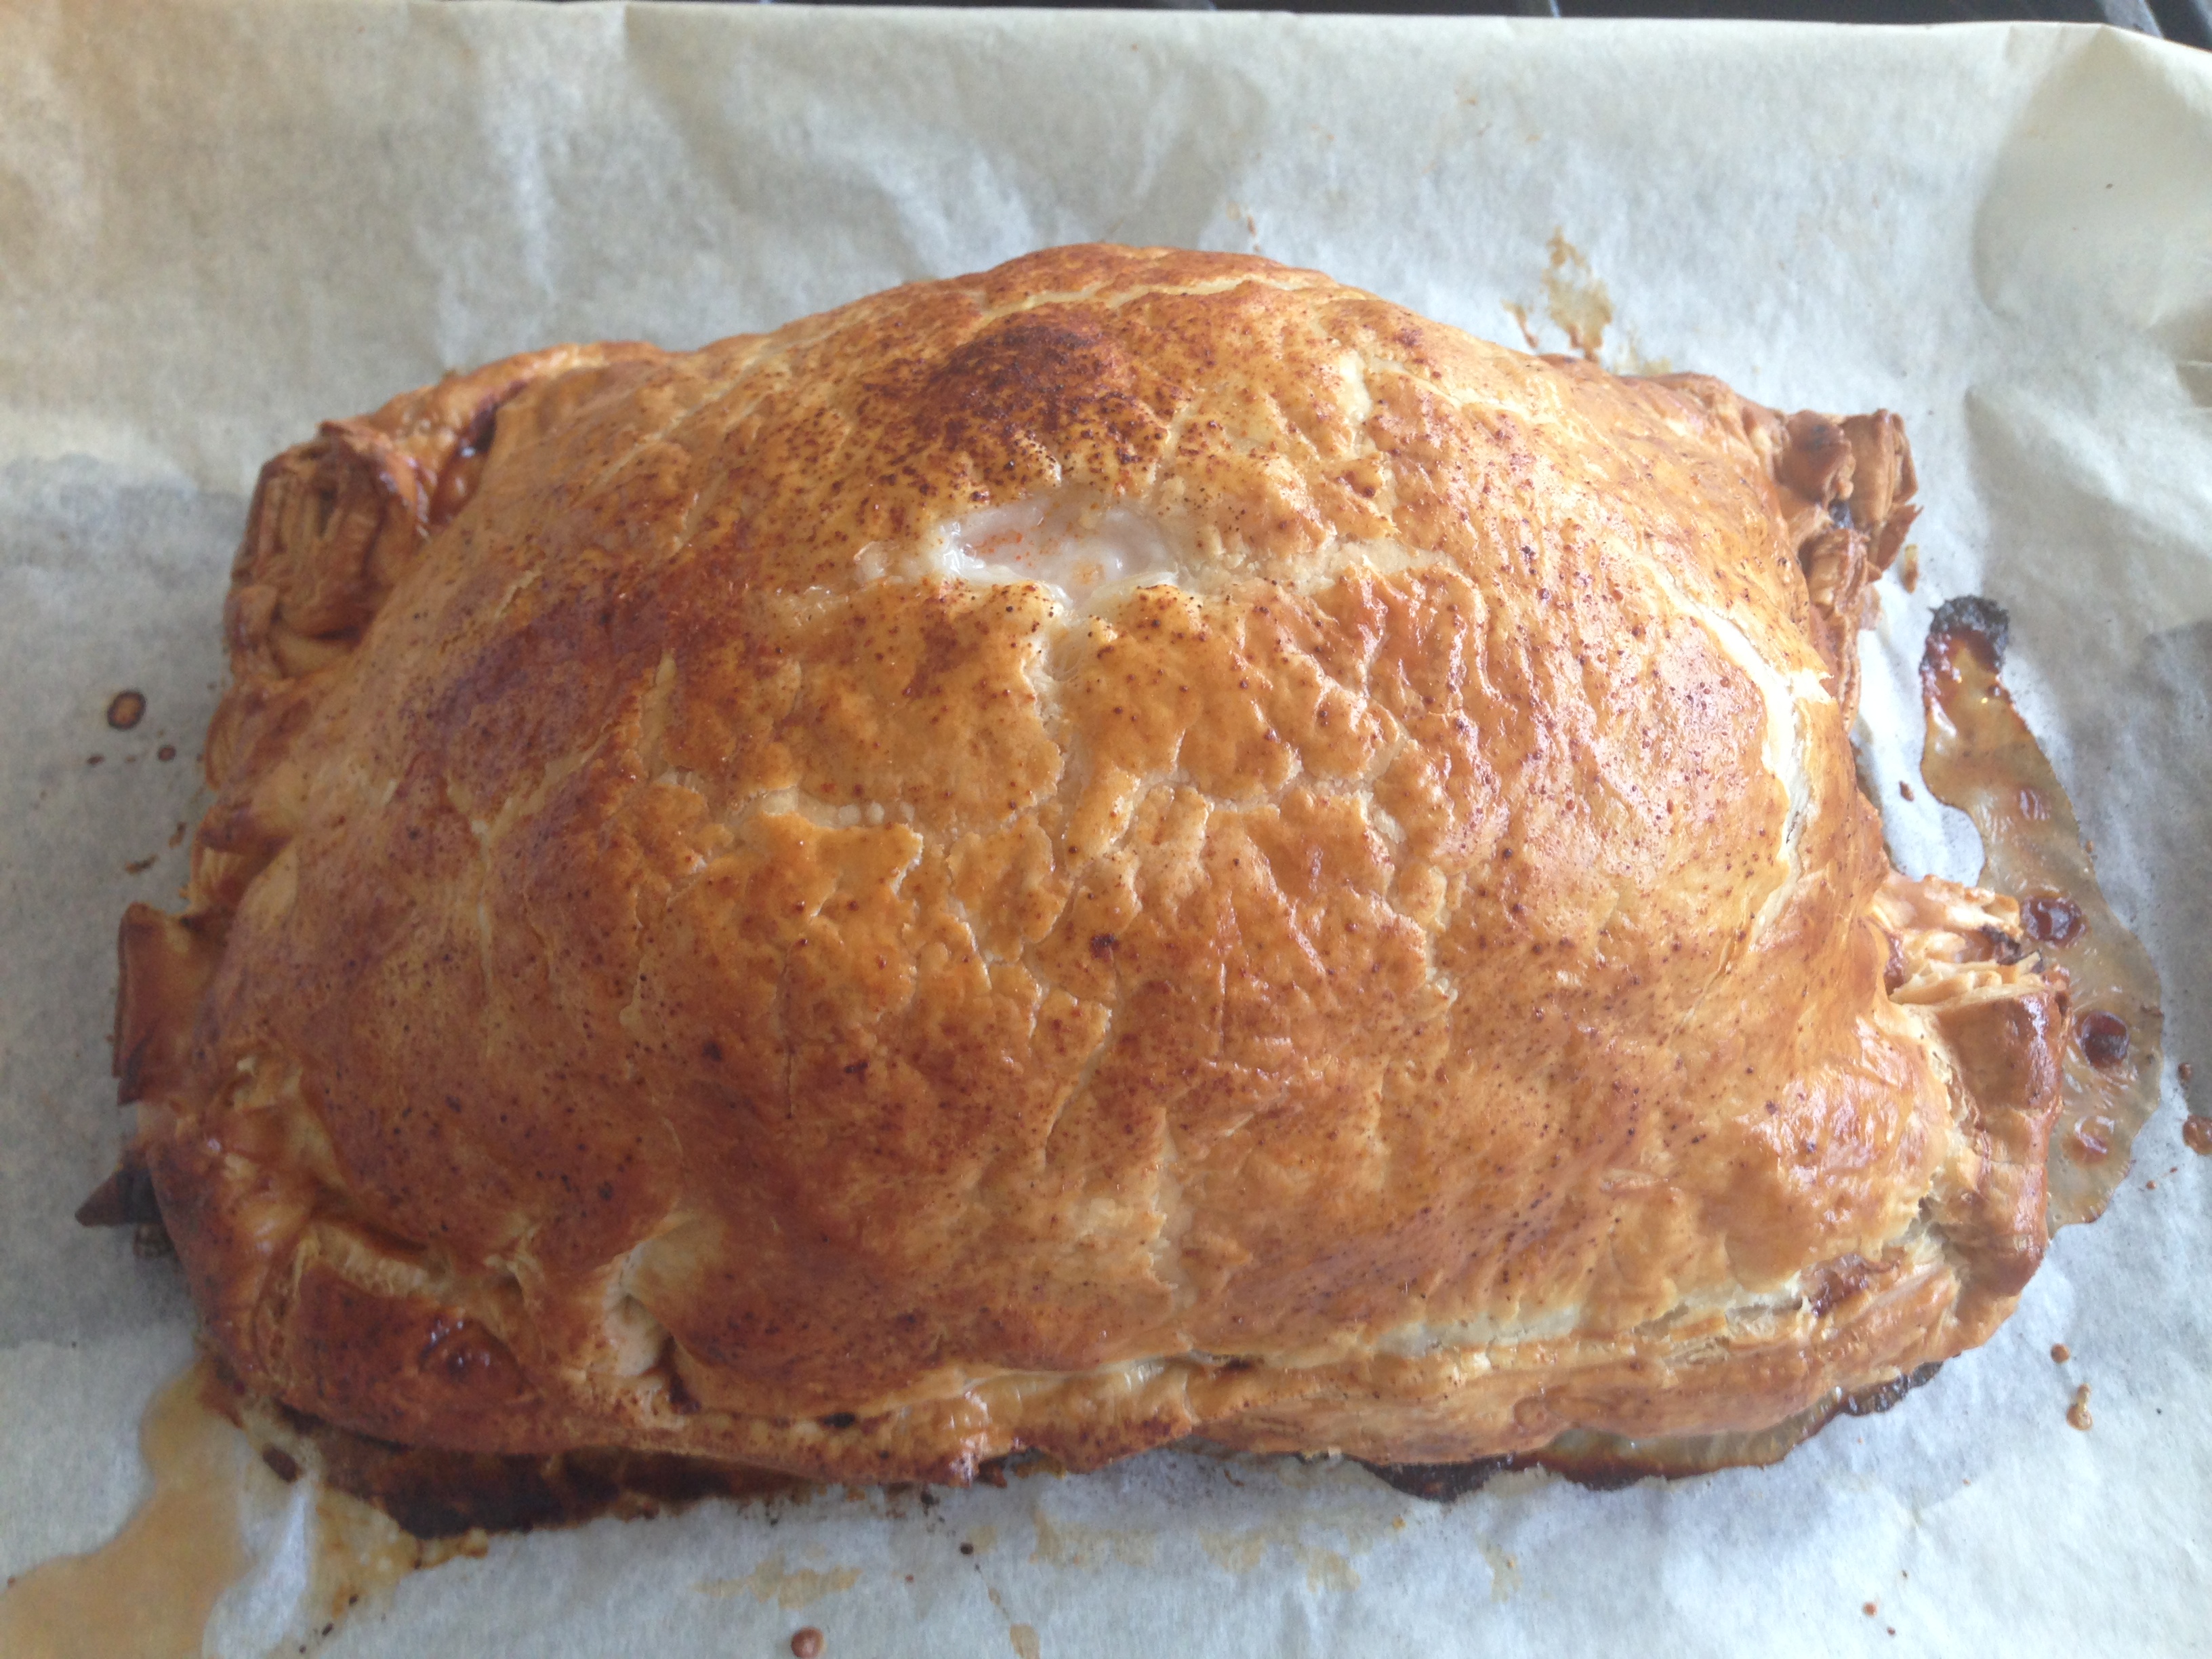
This is how the Crumble turned out and if I do say so myself it was rather tasty!

Vegetable Crumble


Catering, Christmas, Cookery Classes, Cooking, Food, Recipes, Vegetarian

Vegetarians deserve Christmas too!

When I was in college and living away from home for the first time I decided I would become a vegetarian. I have to to say it was more from  economic than altruistic reasons … that and the fact I had a major aversion to handling raw meat!
This ‘phase’ lasted for about 14 years – and ended abruptly 3 days into my time studying in Ballymaloe Cookery School when I decided that if I was going to cook for a living I needed to know what everything tasted like  And yes it was a rasher sambo that ‘brought me back’ 😉

During my years as a vegetarian I drove my poor Mum mad every Christmas by refusing point blank to touch turkey or ham and insisting on cooking my own dinner down to the vegetarian gravy!

Over the years this nut roast became a Christmas favourite tradition and even my very carnivorous brother gave it his seal of approval.

So if you’re looking for a veggie option for Christmas Day then your search ends here……….

Best Ever Cashew Nut & Mushroom Roast

No Servings:         6
Oven:             180ºC/ gas 4/350ºF      

What you need:

  • 1 tbsp vegetable oil
  • 1 medium onion, finely chopped
  •  1 clove garlic, finely chopped
  •  8 oz/225g cashew nuts, roughly chopped
  •  4 oz/110g breadcrumbs
  •  1 egg
  • 3 medium parsnips, cooked and mashed
  • 1 tsp each fresh rosemary & thyme
  •  ¼ pt/ 150 ml vegetable stock
  •  Good knob of  butter
  •  8 oz/ 225g mushrooms, sliced.

What you do:

  • Heat the oil in a large pan and sauté onion for few mins, Making sure to add a pinch of salt. Add the garlic then cook until soft
  • In a large bowl mix nuts and breadcrumbs together with the beaten egg.
  • Add in the mashed parsnips and the herbs, followed by onion and garlic. Make sure you add all the cooking juices in to avoid any dryness in roast
  • Stir in the stock and season to taste. Set aside
  • In your pan sauté mushrooms in butter until soft. I always add a little sherry or vermouth at this stage…. it gives a lovely flavour!
  • Butter  and line 2 lb loaf tin. Put a line of your best mushroom pieces down the middle of the base – this will be the top of your roast when you turn it out so make sure they look good!
  • Then press in half the nut mixture. Cover with a layer of mushrooms and top with rest of nut mixture.
  • Cover with foil and bake for 1 hour. When cooked remove from oven and allow to stand for 10 mins before turning out.
  • Serve it hot with all the usual Christmas accompaniments or have it cold with salad and chutney.

Note: You can half the recipe and use a 1 lb loaf tin if you want to cook this for 2-3 people

And if you’re looking for a delicious vegetarian gravy …….. all you need to do is put 1 pt/500ml water, 2 tbsp soy sauce and 2 tbsp redcurrant jelly in a saucepan and bring to the boil, stirring to dissolve the jelly. Blend 2 tbsp cornflour with 2 tbsp orange juice and 1 tbsp sherry. Stir a little of hot liquid into cornflour mix, then add back into saucepan, whisking well to ensure no lumps! Simmer over gentle heat until slightly thickened. Season to taste. 

Enjoy!

Happy Cooking and Happy Christmas!

Christmas, Cookery Classes, Cooking, Recipes

Tips for the Perfect Turkey

It’s that time of year again. Time to plan the Christmas Feast – turkey, ham and all the trimmings.

I don’t know about you but I’ve always found  turkey rather dry  despite trying all sorts of methods including cooking it in buttered muslin, breast side down, basting………….Then last year on our Fáilte Ireland food trip to Canada I had my eureka moment when we were treated to a Thanksgiving dinner in the lovely Elmhirst Resort – Brining!

This is so easy to do and you won’t believe the difference this will make to your bird – ask anyone who’s been to one of my Christmas Cookery Classes 🙂

What you need:

  • ¾ cup  salt
  • ¾ cup sugar
  • 1 carrot
  • 1 large onion
  • ¼ cup diced celery
  • 2 large sprigs thyme
  • 2 bay leaves
  • 1 tbsp. black peppercorns
  • ¼ tsp. chilli flakes
  • ¼ tsp. fennel seeds
  • 7 litres of water

What you do:

  • Bring the salt, sugar and 1 litre of water to the boil, stir until dissolved, turn off the heat and add the remaining ingredients and 6 litres of cold water.
  • Add the turkey to your brine mixture and leave to brine for 24- 72 hours (make sure bird is fully submerged, place a plate on top to help)
  • Remove the turkey and pat dry
  • Cover the skin with softened butter
  • Cook as normal

This brine mix will work for up to a 16 lb. turkey.

I’ve changed the ingredients occasionally to suit what I have to hand. I did two turkey breasts last week using rosemary and pink peppercorns instead of thyme and black pepper and they were gobbled up (sorry I couldn’t resist!)

This year we’re having turkey wellington for Christmas Dinner . I’m going to brine a turkey breast for 48 hours, then remove it from the brine, split it in half (not going quite the way through ) and fill the ‘pocket’ with stuffing.
Then I’ll spread two sheets of puff pastry with cranberry sauce ; place turkey on one sheet and top with the second – sealing the edges together. To finish I’ll brush the pastry with beaten egg and cut a little cross in the top to allow steam to escape. My rule of thumb for cooking this is 20 minutes per pound plus 20 minutes.

This is one I prepared earlier !

Turkey Wellington

I’m still deciding on which stuffing to use on the ‘Big Day’ but at the moment hazelnut & apricot is looking good:

What you need: 

  • 1 large onion, finely chopped
  • 50 g butter
  • 50 g hazelnuts, chopped
  • 140g dried ready-to-eat apricots, chopped
  • 200g breadcrumbs
  • Handful parsley, chopped
  • Juice & zest of 1 orange

What you do:

  • Melt butter in frying pan and sauté onions until soft but not coloured (about 5-10 mins).
  • Add hazelnuts and fry until golden
  • Stir in apricots, breadcrumbs, zest, juice and parsley. Remove from heat.
  • Allow to cool completely before using to stuff your bird.

Happy Cooking and Happy Christmas! 

P.S. Here’s a few  tips for safe cooking this Christmas

  • Make sure when you’re brining your bird to keep it in the fridge or somewhere cold.
  • Take turkey out of fridge an hour or two in advance – it will cook more evenly from room temperature
  • Cooking time depends on size and type of bird – see link below for cooking chart
  • Use a meat thermometer if you have one, and test thickest part of breast and leg. You want the temperature to hold at 70 C for at least 2 minutes
  • If you don’t have a meat thermometer use a skewer in the thickest part leg and breast – make sure juices run clear.
  • Allow the turkey to rest – will stay warm under foil for up to 2 hours. Use this time to cook vegetables
  • Save yourself time and prep your veg day before!

You can get more safe cooking tips here:

http://www.safefood.eu/Publications/Consumer-info/Have-a-healthy,-happy-Christmas.aspx

Baking, Cookery Classes, desserts, Food, Recipes

Sammy the Spider

Have I mentioned that I love the variety of what I do -from catering to canapés to classes?

One of my latest ventures is Chocolate Cookery Classes at the famous Butler’s Chocolates.

So when they asked me to do a Halloween class I had to put my thinking hat on and Sammy the Spider was born …..

Meet Sammy! Meet Sammy!

To make this cake and be the star of your Halloween Party just follow my instructions which I hope don’t ramble too much…..

The body of the cake is made using one of the most versatile chocolate cake recipes you’ll ever need. I was introduced to it about 10 years ago by Tess and Nicola when I worked in Wicklow and since then I’ve used it for cakes, muffins, mini cupcakes, sweet canapés …..and now spiders.

What you need :

  • 8oz/200g Self raising Flour
  • 9oz/225g Soft Brown Sugar
  • 2o/50g Cocoa Powder
  • 1/4 pt/125ml  Milk (the full fat variety please!)
  • 1/4 pt/125ml  Sunflower Oil
  • 3 eggs , separated

What you do:

  • Preheat your oven to at 180C /170 C  Fan/Gas 4
  • Mix the dry ingredients in a bowl.
  • Mix the milk and oil in a jug and whisk in the egg yolks.
  • Whisk the egg whites until they’re thick and glossy (as if you were making meringues).
  • Add the wet ingredients to the dry, mix well and then fold in the egg whites – being careful not to knock out all the air.
  • And that’s it ! Now pour mix into baking tins – I used two 11.5 cm  and one 20 cm- you could make 2 large cakes or 4 small ones.
  • Bake for 12-15 minutes, until firm to touch.
  • Leave to cool in the tin for about 5 mins then turn out onto a wire rack  and allow to cool completely.

Note:  It’s not worth halving the recipe to make just one small cake so freeze the extra cakes for     another day – or make a family of spiders!

Now comes the fun part – the decorating.

First you need some Chocolate Ganache:

To make this you simply heat 200ml  cream until simmering then pour over approx 125g dark chocolate chips and stir until melted. If you think it’s not thick enough you can add more chocolate but do remember it will thicken as it cools.

Place on of the 11.5cm cakes on your serving plate (you can do it on a turntable but you have to be very careful when transferring it to its final plate!)

Cover the body of the cake with the ganache then get ready to add the legs. I used wafer rolls for the legs though I think chocolate fingers might work as well. wafer rolls

You need 16 rolls – two for each leg to allow for the bend! Cover each roll in the chocolate ganache (Didn’t I warn you it could get messy!)

Stick 8 of them into the body of the cake to form the tops of the legs. Then carefully ‘glue’ on the bottom half of each leg (wafer) using more of the ganache. (I’ll repeat the picture so you can see what I mean – I hope!)

halloween 020

For the face you need some roll out icing – white for eyes, orange for mouth. Stamp out two white circles for the eyes, ‘glue’ onto the body and then attach an M&M’s to each circle with a little of the ganache.

To make the mouth cut out a smile from the orange icing and stick it on.

Et voila! Your Halloween spider cake is complete  and totally worth the mess!

Happy Cooking & Happy Halloween!

PS the best compliment I received on this was from my soon to be 3-year-old nephew – he wants a spider as his birthday cake 🙂

Baking, Cooking, Recipes

Wild Garlic Soda Bread

I know , I know. I said I was going to get back to blogging earlier in the year but between moving house, setting up a new kitchen for Hey Pesto! and my involvement in the inaugural Harvest Offaly Food Festival it just didn’t happen.

So here it is – my first blog post in months and I’m starting with an easy one! Earlier in the year Helen from  Failte Ireland asked the food champions for an Irish recipe with a ‘modern twist’ and this was mine.

My Nana was famous for her soda bread, well within our family anyway and there’s enough of us! Everyday she made two loaves in her Aga . Always two, never any more than two and to paraphrase an ad ‘when it was gone, it was gone’.

I asked her once for the recipe and she told me ‘a handful of this and a handful of that’. If I’d had the sense at the time I’d have measured the size of her hands! I’m still trying to recreate the taste of her bread and apparently I have come close once or twice though I think the real difference is that she used unpasteurized milk straight from the cow that my great uncle kept in the orchard, that was allowed to go sour naturally (the milk not the cow!)

The great thing about soda bread is that you can add flavours – such as pesto or sundried tomatoes or even chocolate chips for a sweet cake.

In this version of soda bread I have added  wild garlic pesto and dried wild garlic leaves to give the taste of summer. I also use spelt flour, an ancient relative of modern wheat, which I think gives a better, lighter loaf

What you need:

  • 450g/1 lb. white spelt flour
  • 1 level teaspoon salt
  • 1 level teaspoon bread soda
  • 340-400 ml / 12-14 fl.oz approx buttermilk
  • 1 tbsp wild garlic pesto
  • 1-2 tsp dried wild garlic leaves 

IMG_2671[1]

What you do:

  • Preheat oven to 230ºC/Gas 8
  • Mix all dry ingredients in large bowl, making sure that you sieve in the bread soda.
  • Add in the wild garlic pesto and the dried leaves if you have them ( dry them overnight in a very low oven when in season and store in an airtight jar).
  • Make a well in the centre and pour in most of the buttermilk at once. The exact amount of buttermilk can vary, even according to the weather!

IMG_2672[1]

  • Stir in the liquid until completely mixed but be very careful not to overmix.
  • Turn the dough out onto a floured board and  gently form into long ‘loaf’ shape.  I know a circle is more acceptable but this is the shape my grandmother always used and it makes cutting the bread much easier!

IMG_2673[1]

  • Place the loaf on lined  baking sheet.  Score a deepish line down the centre and prick the sides  to let the fairies out.
  • Bake in a hot oven for 20 minutes,  then reduce heat to 180ºC/Gas 4 for another 15-20 mins, or until just cooked.

IMG_2682[1]

  • Tap the bottom of the bread; if it is cooked it will sound hollow. Cool on wire rack and eat as soon as possible!

IMG_2686[1]

  • Perfect with soup or with as a base for bruschetta

I’m not sure if Nana would approve of the garlic but it went down very well here.

If you don’t have wild garlic pesto or if you just fancy a plain white soda then leave it out.

Give it a try – you’ll be amazed at how quick and easy it is to make your own bread.

Happy Cooking!


Baking, Cakes, desserts, Food, Recipes

Love is in the Air

My poor blog has been very neglected of late so it’s time to pay it some attention and share a recipe for Valentine’s Day.

In preparation for my ‘Cupid’s Cookery‘ class last week I did a little research on aphrodisiacs and found lots of trivia. Did you know that basil was used for seduction by women in Moldova? Or that Catholic priests in Spain banned avocados because they found them obscenely sexual?

Other reputed aphrodisiacs are honey, almonds and chocolate – so what better way to celebrate St Valentine’s Day than to present the object of your affections with a combination of all three?

This recipe is based on one I found in the course of my research….I’ve made a few alterations and  I hope you like it……

What you need:

  • Heart Shaped loose bottomed tin
  • 180g dark chocolate digestives
  • 60g butter
  • 2 tbsp. flaked almonds
  • 200ml Avonmore Fresh Cream
  • 3 tbsp. Limefield Honey
  • 300g dark chocolate (70% cocoa), in pieces
  • Generous splash of Cointreau! 

What you do:

  • Crush the biscuits finely and add in the melted butter. Then press into the bottom of heart shaped tin.
  • Toast the almonds in a dry pan.
  • Whisk the cream and honey together in a small saucepan over a low heat and then slowly bring the mix to just below the boil.
  • Pour the mix over the chocolate and stir until the chocolate melts.
  • Stir in the toasted almonds and the Cointreau.
  • Pour the mix into the lined tin and leave to chill for a few hours until set (overnight is best)
  • Decorate to your heart’s content with almonds, hearts and sparkles!
  • Serve with lots of extra Avonmore Fresh Dessert Cream

    chocolate heart -001

I also made individual ones for last week’s date night  – one with added sea salt which I preferred but The Chief Taster preferred the Cointreau version!

P1010210-001

Did it live up to expectations? Well, let’s just say there were no complaints ……

Happy Cooking!


Baking, Cakes, Christmas, Cooking, desserts, Food

Extremely Chocolatey Christmas Wreath

It’s beginning to feel a lot like Christmas around here – the tree is up, the lights are on and I’m doing up my Christmas menus which will include this Christmas Wreath Cake as an alternative to the traditional fruit cake

I may have mentioned that I’m not really a dessert person – give me savoury any day – but I love making desserts and watching others enjoy them! I came across this wreath cake a few years ago – in a copy of Good Housekeeping I think – and have been using it every Christmas since.

I should warn you that this is a cake for serious chocoholics and not for the fainthearted, but it makes a great centrepiece on Christmas Day!

It’s an easy cake to make and it freezes well (un-iced ) so you can make it in advance and take it out to decorate on Christmas Eve.

The only special piece of equipment you will need is a ‘wreath’ tin i.e. a 23cm spring form cake tin with a but missing in the middle! I use one I bought in  Ikea  but  I know my local  shop ‘Kit Your Kitchen‘  now stock similar .

Turn your oven to 180 C or Gas 4 before you start and grease your tin with butter.

What you need:

  • 1 * 400g tin of pears (in natural juice)
  • 50 ml milk
  • 1 tbsp.  espresso coffee
  • 1 tbsp. vanilla extract
  • 1 tbsp. vegetable oil
  • 175g cocoa (I use Green & Black ‘s)
  • 125g plain flour
  • 1 tsp. baking powder
  • ½ tsp. baking soda
  • ½ tsp. salt
  • 340g caster sugar
  • 6 egg whites
  • 250g crème fraîche
  • 175g dark chocolate (I use 70% )
  • Christmas decorations

What you do:

  • Drain the tin of pears and whizz in food processor to a purée.
  • Mix the pear purée with the milk, espresso granules, oil and vanilla extract.
  • In another bowl mix together the cocoa powder, flour, baking powder, baking soda and salt.
  • Whisk the egg whites and the sugar together at high speed until stiff and glossy
  • Add in the pear purée mix  to the eggs and whisk slowly to blend
  • Finally fold the flour mix into egg and pear mix.
  • Spoon the batter into the prepared cake tin and bake in your preheated oven for 30 mins or until firm to touch
  • Allow cake to cool slightly in tin before turning out onto rack.

Cooling

  • As I said, if you’re making this ahead of time , you can freeze it at this point. Just make sure you wrap it carefully!
  • The icing is very simple : heat the crème fraîche in a bowl over a pan of simmering water.
  • Then remove from heat and add in chocolate. Allow to melt and then mix in until smooth.
  • Place pieces of parchment paper under the cake to protect your cakeboard/plate. Then using a palette knife spread icing over the cake . Remember you want it to look like a wreath so it doesn’t have to be smooth

christmas 11 006-001

Then it’s time for your (or your children’s ) imagination to take over…..

You can make chocolate leaves …..

christmas 11 008-001

…. use sprinkles ….Santas…..Robins….Snowmen……..

christmas 11 012-001

P1010008-001

……whatever you like!

But whatever you decide please be warned that this cake is INCREDIBLY rich and a little goes a long way!

Happy Cooking! 

PS I have been known to make this into an Easter Cake by covering it with flowers and mini eggs – you see a cake’s not just for Christmas!

Cookery Classes, Cooking, Food, Healthy Eating, Recipes, Uncategorized, Vegetarian

Where’s the beef – an alternative burger

When I left college (a few years ago….) I could barely boil water – I though pizza and coleslaw were major food groups and takeaways were essential!  So when I found myself in paid employment I decided in the interests of survival to sign up for a cookery class, vegetarian of course.

The class was hands-on, given by a lovely girl in Ballsbridge. It was great fun and I learned lots – you have no idea how basic my knowledge of all things culinary was at that time.

My memories of the course include the couple who read 3/4 lb carrot as 3 to 4 lbs and then spent a class doing nothing but peeling carrots; my ‘landlady’ Siobhan waiting for me to come home with Wednesday night dinner  and a realisation that I did not like kidney beans!

One of the recipes from this course that I  still use is one for Black-eyed Bean Burgers . In fact we serve them as a vegetarian barbecue option.

Last Saturday I wasn’t really in the mood for cooking (I know, hard to believe) so I was delighted to find a few of these burgers in the freezer and I paired them with  the mango and pomegranate guacamole leftover from Friday’s book club – happy days!

The recipe was requested after I posted a photo of the dish on facebook . I know the original recipe included sautéed mushrooms but I  omitted those and from memory for this batch I added in some oyster sauce and used mixed nuts.  Thinking about it I might try adding red peppers and chilli sauce the next time……..

What you need:

  • 1 onion, finely chopped
  • 1 clove garlic, finely chopped
  • 400g tin black-eyed beans, drained and rinsed
  • 2 tbsp tahini paste
  • 1 tbsp vegetarian oyster sauce
  • 50g/2 oz brazil nuts (or mixed nuts)
  • 100g/4 oz breadcrumbs (I prefer the panko ones)

What you do:

  • Sauté the onion in 1 tbsp rapeseed oil until softened but not coloured. Add the garlic after about 5 mins and cook for another minute
  • Pulse the beans in food processor with the nuts and approx 3/4 of the breadcrumbs (that’s 75g not 3 breadcrumbs!)
  • Add in the tahini paste (or peanut butter if you prefer) and the oyster sauce and the cooked onion and whizz together
  • If the mix seems dry add a little stock.
  • Using a chefs ring form into burgers, then ‘top and tail’ with the remaining breadcrumbs.
  • Bake in the oven (180 C/ Gas 4) for 10 mins until breadcrumbs crisp or if you prefer shallow fry them.

The original accompaniment to these was Sweet and Sour Sauce and Brown Rice – well it was the nineties! I serve them with a home-made coleslaw for barbecues but the guacamole really worked as well. It was a recipe from  Gourmet magazine that I picked up in Canada  – it’s already in the favourites folder!

I hope you like them !

Happy Cooking !

PS  The Chief Taster has requested that I point out he is not in favour of these vegetarian posts and could I please do a carnivore dish  for the next one.
Catering, Cookbooks, Cooking, Food, Healthy Eating, Recipes, Vegetarian

Comforting Vegetarian Cuisine

As I may have mentioned not only do I collect cookbooks I also collect recipes…. Also did I mention that I was a vegetarian for about 14 years?

I was talking to the guys in my local vegetable shop, The Farmer’s Gate, about recipes we could give their customers that use  produce from the shop.  So I went back through my recipe notebook for inspiration and came across this one for Savoury Vegetable Crumble. I think the original came from a  vegetarian magazine way back when I was dedicated to the cause. It’s been adapted a bit over the years and here’s the latest version.

You can use any mix of vegetables for this dish but winter root vegetables work really well. Tonight I used leeks, celery and carrot as they were in my vegetable rack. I also added a red pepper for colour.

What you need:

  • 1 onion, diced
  • 1 red chilli, finely chopped
  • 1 tsp cumin seeds
  • 1 tsp coriander seeds
  • 1 tsp turmeric
  • 1/2 tsp chilli powder
  • 1 cm ginger, finely chopped
  • 1 tbsp tomato purée
  • Mix of vegetables  – such as 2-3 carrots, few sticks celery, 2 parsnips…..
  • 500 ml vegetable stock
  • 1 400g tin cannelloni beans
  • 75g/3 oz spelt flour
  • 50g/2 oz butter
  • 75g/3oz Kilbeggan Porridge Oats

What you do:

  • Sauté the onions and the chilli until soft but not coloured.
  • Dry fry the cumin and coriander seeds for a minute then grind in pestle and mortar with the other spices. Then add to the onions and chilli and cook for a few mins.
  • Add in the purée, cook for another minute, add vegetables and toss to coat in the spice mix.
  • Finally add in the stock and the beans. Bring mix to the boil and then simmer over a low heat for 15-20 mins.

  • Make the crumble by rubbing the butter into the flour and then add in the oats.

  • Transfer the vegetable mix to a casserole dish and scatter the crumble over the top.

  • Bake the dish at 190 C/Gas 5 for 25 mins until crumble is cooked

I served the dish with some minted yoghurt – a perfect warming dish  for a dark winter’s evening!

Happy Cooking !

And yes, before you ask – it was the rasher sandwich that ‘brought me back’!

Baking, Cakes, Catering, Christmas, Cooking, Food, Recipes

When is a recipe a family recipe?

When is a recipe a family recipe?  Does someone in your family have to develop the recipe from scratch or can it be a recipe that is used a few times and then becomes a family favourite?

I’ve been involved in several conversations on this topic and my maths brain tells me that there has to be a finite (albeit large)  number of recipe combinations so there are bound to be duplicates making it harder to credit the original originator of a recipe!

I believe that recipes  evolve  through sharing and experimentation. I have scraps of paper from family and friends glued into my recipe notebook  including a very precious  one dictated by my late Grandmother for her famous brown bread – once I figure out how much is in a ‘handful’ I’m sure it will work…..

I have a ‘to try’ box filled with recipes cut  from magazines and papers that I want to try …..someday

I have a vast collection of cookbooks that I love to cook from – but more often than not I’ll change something as I’m going along.

Don’t you hate it if  you  ask somebody for a recipe and they refuse to share it as it’s a ‘family secret’?

I make a lot of Chocolate Roulades – in fact it’s one of my main desserts. I love making a mini version to go on a mixed dessert plate.  I was given the recipe by the lady who owned the catering company I used to work for. I changed the quantities slightly to make it work in a bigger tin., and added the brandy! Years later I came across practically the same recipe in one of the Avoca books – so does the recipe belong to the person who first gave me the recipe, to the author or to me ???

I hate to think of myself as possessive so I’m more than willing to share this wonderful recipe, whoever it  actually ‘owns’ it.  I hope you like it.

What you need:

  • 6 large eggs, separated
  • 6 oz/175g dark chocolate
  • 6 oz/175g  caster sugar
  • 3 fl oz/ 75 ml brandy
  • ½ pt /300ml cream, whipped

What you do:

  • Melt the chocolate with the brandy, either slowly in the microwave or in a bowl over a saucepan of simmering water.
  • Whisk the egg yolks and sugar together until you get to the ‘ribbon stage’ – you really need an electric whisk for this unless you have really strong arms!
  • Fold in the melted chocolate into the egg mix. Then in a clean bowl whisk the egg whites until stiff (the egg whites not your arms!)
  • Using a metal spoon fold the egg white in stages into the chocolate mix. Then pour into a lined large Swiss roll tin
  • Bake at 180 C/Gas 4 for 12-15 minutes, until firm to touch.

Leave to cool completely

  • This is the important bit – cover with a damp towel and leave to cool completely
  • Dust the top of roulade with icing sugar and invert onto parchment paper.

  • Spread the cream evenly over the surface (feel free to add fresh berries as well)

  • Using the parchment paper to help  roll it up like a Swiss roll

  • Decorate the roulade with icing sugar and strawberries or grated chocolate

  • Serve and watch it disappear!

PS This works really well as a Christmas Log – decorate it with chocolate leaves and a robin – or lots of chocolate bark and sprinkles!


Anybody else got a favourite recipe they’d like to share ?

Happy Cooking !